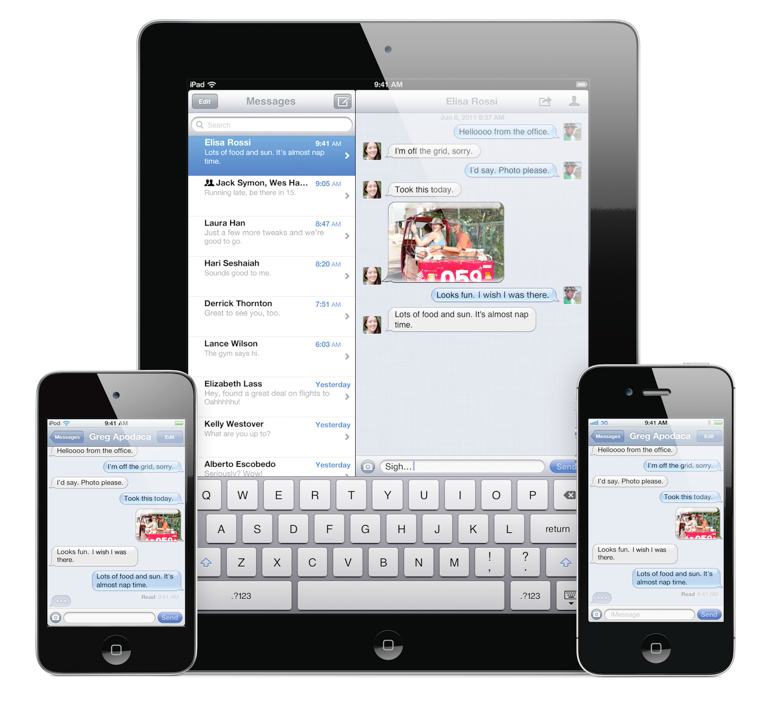
Are you using the iPhone from Celcom, Maxis or Digi? Wanted to save SMS/MMS charges cost? Not a problem!
iOS 5 deliver a powerful messaging system call iMessage. iMessage uses Apple server to conjure the magic, it allows you to send unlimited text, photos, videos, locations, and contacts right from your iPhone & iPad.
Let’s get started…
iMessage – Your Phone Number
Update your iPhone to iOS 5 – verify your device with Apple server and your iMessage app is good to go. You can start sending message from your contact list and Apple will “magically” send as iMessage if supported.
By default Apple uses your phone number – any one in your contacts updated to iOS 5 will be able to send message to each other via iMessage.
If you have problem sending using number please make sure you add country code follow by phone number. e.g +6 013 1234 567 (+6 is for Malaysia)
iMessage – Multiple Devices
iMessage work on iPhone 4S, 4, 3GS as well as iPad 1 & 2. How do you make each devices uniquely associated with iMessage? How do you received messages to the correct devices? Turn out it was fairly easy.
First, Tap on “Receive At”. On your iOS 5 – Go to >Setting >Messages > “Receive At”
Second >Tap on “Add Another Email” On your iOS 5 – Go to >Setting >Messages >Receive At > “Add Another Email”

(Picture – “Add Another Email…”)
Now start adding the contact email you want to associate with the current device – any email will work. If you’re using Apple ID’s email – (Picture 2) a pop up screen maybe request for your password.
Your contact email will not be added until you verify it via an email link send from Apple. Check your email and click on the link – You maybe ask to enter your Apple ID and password – just enter it and click okay. (If your email stay “verify” your email is not ready for use)

(Picture – “Please verify the contact email address for your Apple ID”)
Third, Tap on “Caller ID”. On your iOS 5 – Go to >Setting >Messages >Receive At > “Caller ID”

(Picture – “iMessage and Caller ID”)
The above example – I’ve selected my mobile number as my Caller ID on my iPhone 4 (note – the tick). The next time my friend send messages from an iOS 5 devices – I will automatically receiving an iMessage right from my iPhone 4.
Follow the same instruction for your iPad, iPod Touch etc…
That’s how easy it is – it just works!
iMessage – Green Color Blue Color
This is fun – The green color means normal telco SMS/MMS messages. The Blue color – yes – the iMessage. That’s it? Yes – that’s it!

(Picture – iMessage in action. Conversation with a friend and a first iMessaging Panda)
Ignore the typo – it’s a hilarious excitement.
iMessage – The answer for BBM, MSN, Gtalk…
I hope you get the hang of it – I met one new friend online after few days of iMessaging… I wanted to ask ASL in the process but something stop me.
I hope this writing helps you to get your iMessage running ASAP and while you’re at it please iMessage me
@ fuifa(att)me.com Subscribe to my twitter or google+ if you like to keep in touch with me. Appreciate your supports.


2 responses to “How-to set up your iMessage if you’re using Celcom, Maxis or Digi”
Hey! My messages on your blog?! LOL! Thanks for the guide! I like iMessage!!! : )
I like it too 🙂 it’s cool! hahaha